Your front door says hello before you do. But slap a flimsy, store-bought mat down in October, and by December? It’s faded, frayed, or worse—sliding into the street with every gust of wind. Mass-produced doormats treat your entry like an afterthought. The fix isn’t buying another generic rectangle—it’s learning how to make a custom doormat that stands up to rain, mud, and 300 daily footprints without blinking.
Why Off-the-Rack Doormats Fail Within Weeks
Most “durable” mats are designed for shelf appeal—not real life. They use bonded coconut fibers that disintegrate when wet or synthetic loops that flatten after two rainy seasons. And don’t get me started on those painted designs that vanish faster than last year’s New Year’s resolutions. You’re not just battling wear—you’re fighting against materials engineered to look good in a warehouse, not your porch.
Here’s the reality: customization isn’t about aesthetics alone. It’s about selecting substrates that match your climate, traffic volume, and cleaning habits. Skip this, and even the fanciest stencil won’t save you.
How to Make a Custom Doormat: A No-Nonsense Step-by-Step
Forget Pinterest-perfect tutorials that skip the gritty details. This method prioritizes function first—then form. And yes, it works whether you live in Seattle drizzle or Arizona dust storms.
Choose Your Base Like a Pro
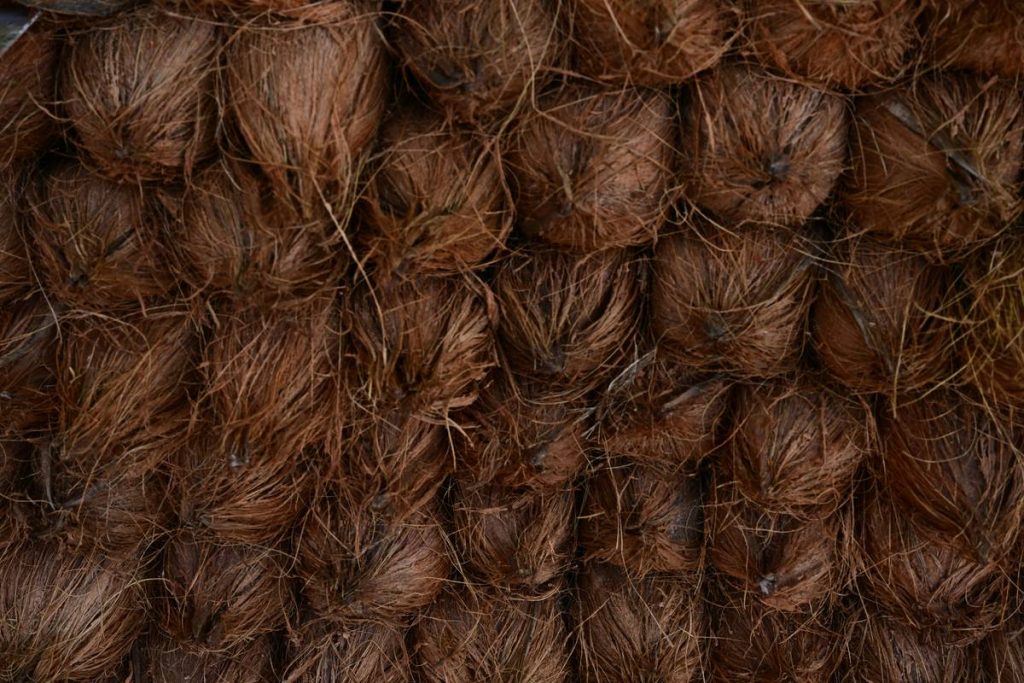
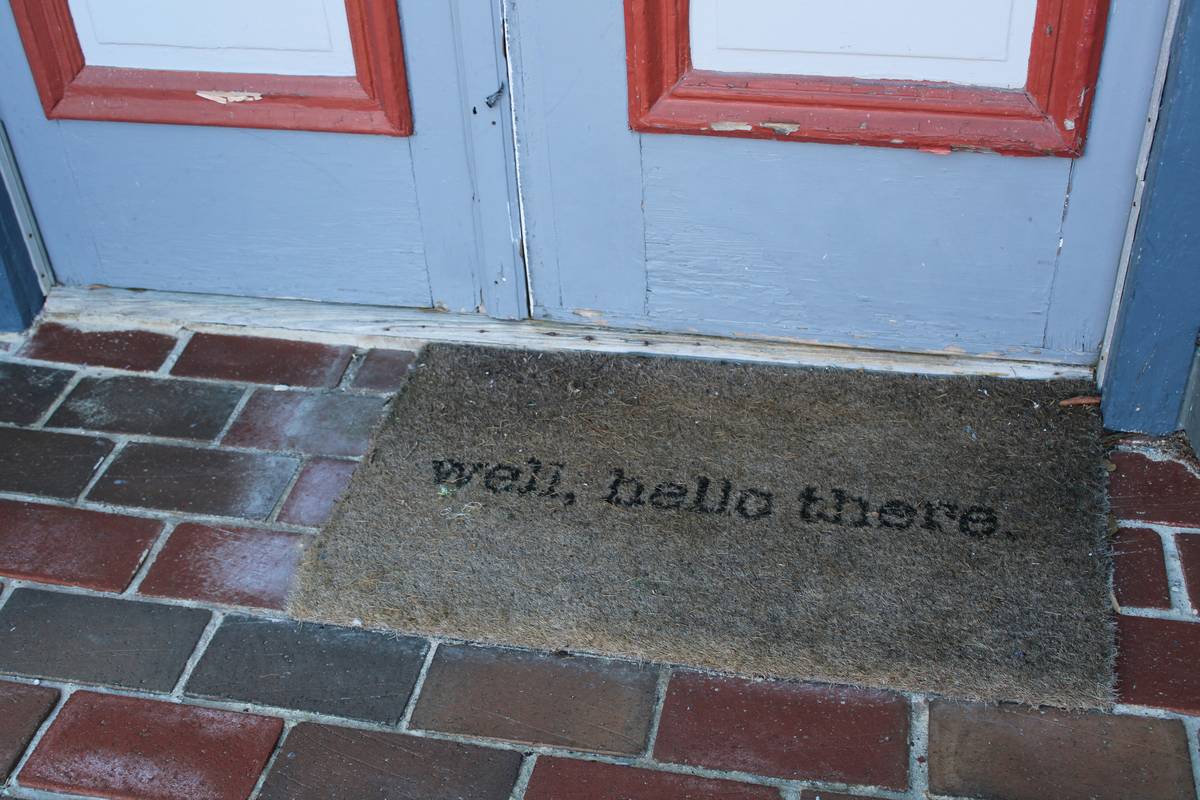
Coir (coconut fiber) is classic—but only if you’re in a dry or temperate zone. For humid or snowy climates, go with recycled rubber or polypropylene backing. These resist mold, stay put on slick surfaces, and handle salt without crumbling. Check the pile height too: under 0.5 inches for high-traffic zones; over 0.75 inches only if you’re okay with tripping hazards.
Design That Survives Scrubbing
Stencils? Fine for low-use cabins. For main entries, use outdoor-grade paint formulated for textiles or—better yet—heat-transfer vinyl rated for exterior use. Apply it with a firm-bristle roller, not a brush. Thin layers cure faster and peel less. And always test on a scrap corner first. Some “weatherproof” paints turn gummy in UV exposure. Learned that the hard way after a July meltdown in Austin.
Seal It Without Trapping Moisture
This is where 90% of DIYers mess up. They douse their masterpiece in clear sealant, thinking it adds armor. Instead, they trap moisture underneath—the #1 cause of mildew and fiber rot. Use a breathable fabric protector (like Scotchgard Outdoor) in light mist coats. Let it dry fully between applications. Two coats. Not three. More isn’t better—it’s suffocating.
| Method | Cost Range | Durability (Months) | Better For |
|---|---|---|---|
| Coir + Acrylic Paint | $12–$25 | 3–6 | Dry climates, low foot traffic |
| Rubber Backing + Heat-Transfer Vinyl | $20–$40 | 18–36 | All climates, families, pets |
| Washable Polyester + Outdoor Fabric Ink | $15–$30 | 8–14 | Apartment entries, renters |
The Industry Secret: Texture Beats Color Every Time
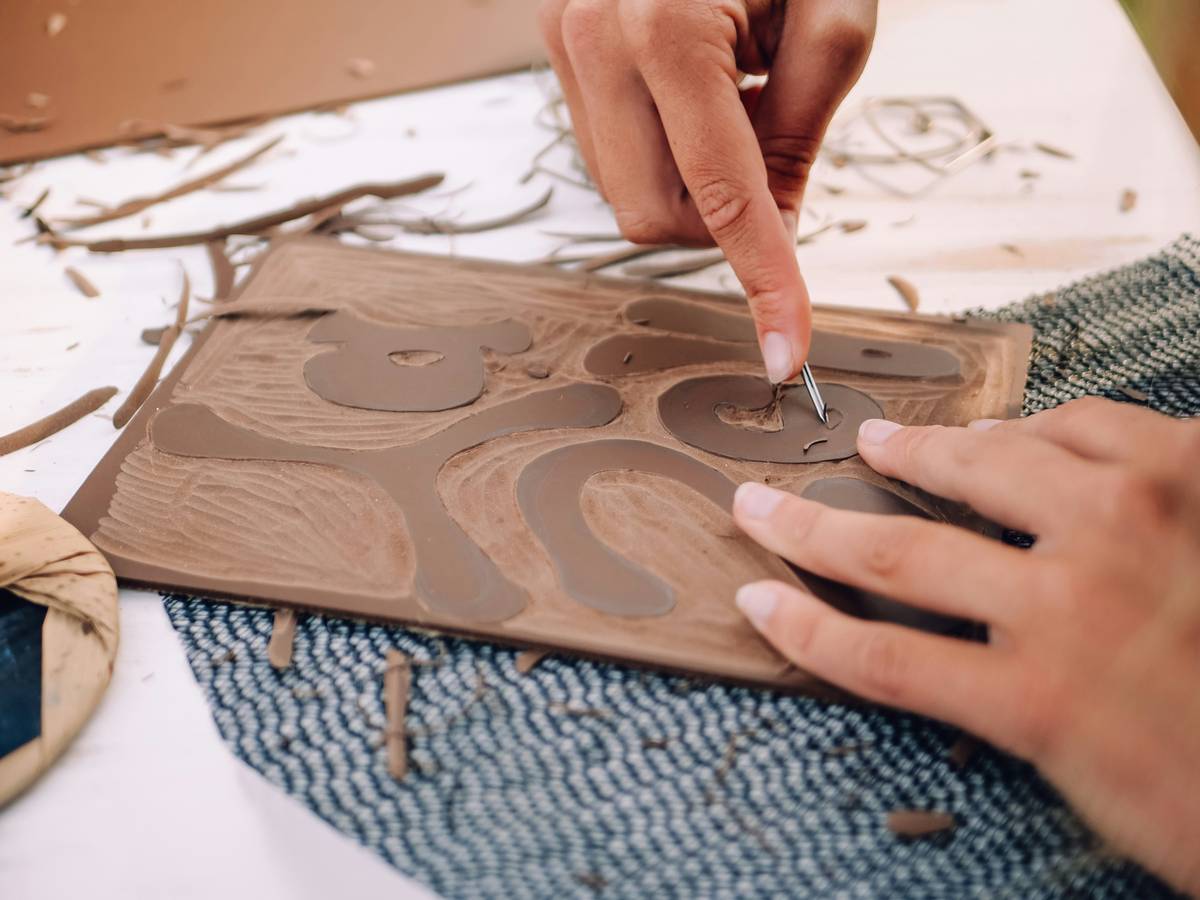
Design studios obsess over Pantone matches. Contractors? We care about grit. A slightly abrasive surface removes 40% more dirt than a smooth one—even if both are dark gray. That’s why commercial buildings use ridged rubber mats, not flat rugs. When you how to make a custom doormat, prioritize texture mapping over trendy fonts. Carve shallow grooves into rubber bases with a utility knife. Or layer coir with a crisscross weave pattern—it creates natural scraping channels. Clean entryways aren’t about looks. They’re about physics.
Frequently Asked Questions
Can I make a custom doormat that’s safe for hardwood floors?
Yes. Use a non-slip rubber backing with zero dyes or oils. Avoid coir—it sheds fibers that scratch finishes.
How long does a DIY custom doormat last outdoors?
Depends on materials. Rubber-based versions last 2+ years. Painted coir? Maybe one season in harsh climates.
Is stenciling a doormat worth the effort?
Only for covered porches. Unprotected stencils fade in 60 days. For exposed entries, use embedded vinyl or woven text instead.